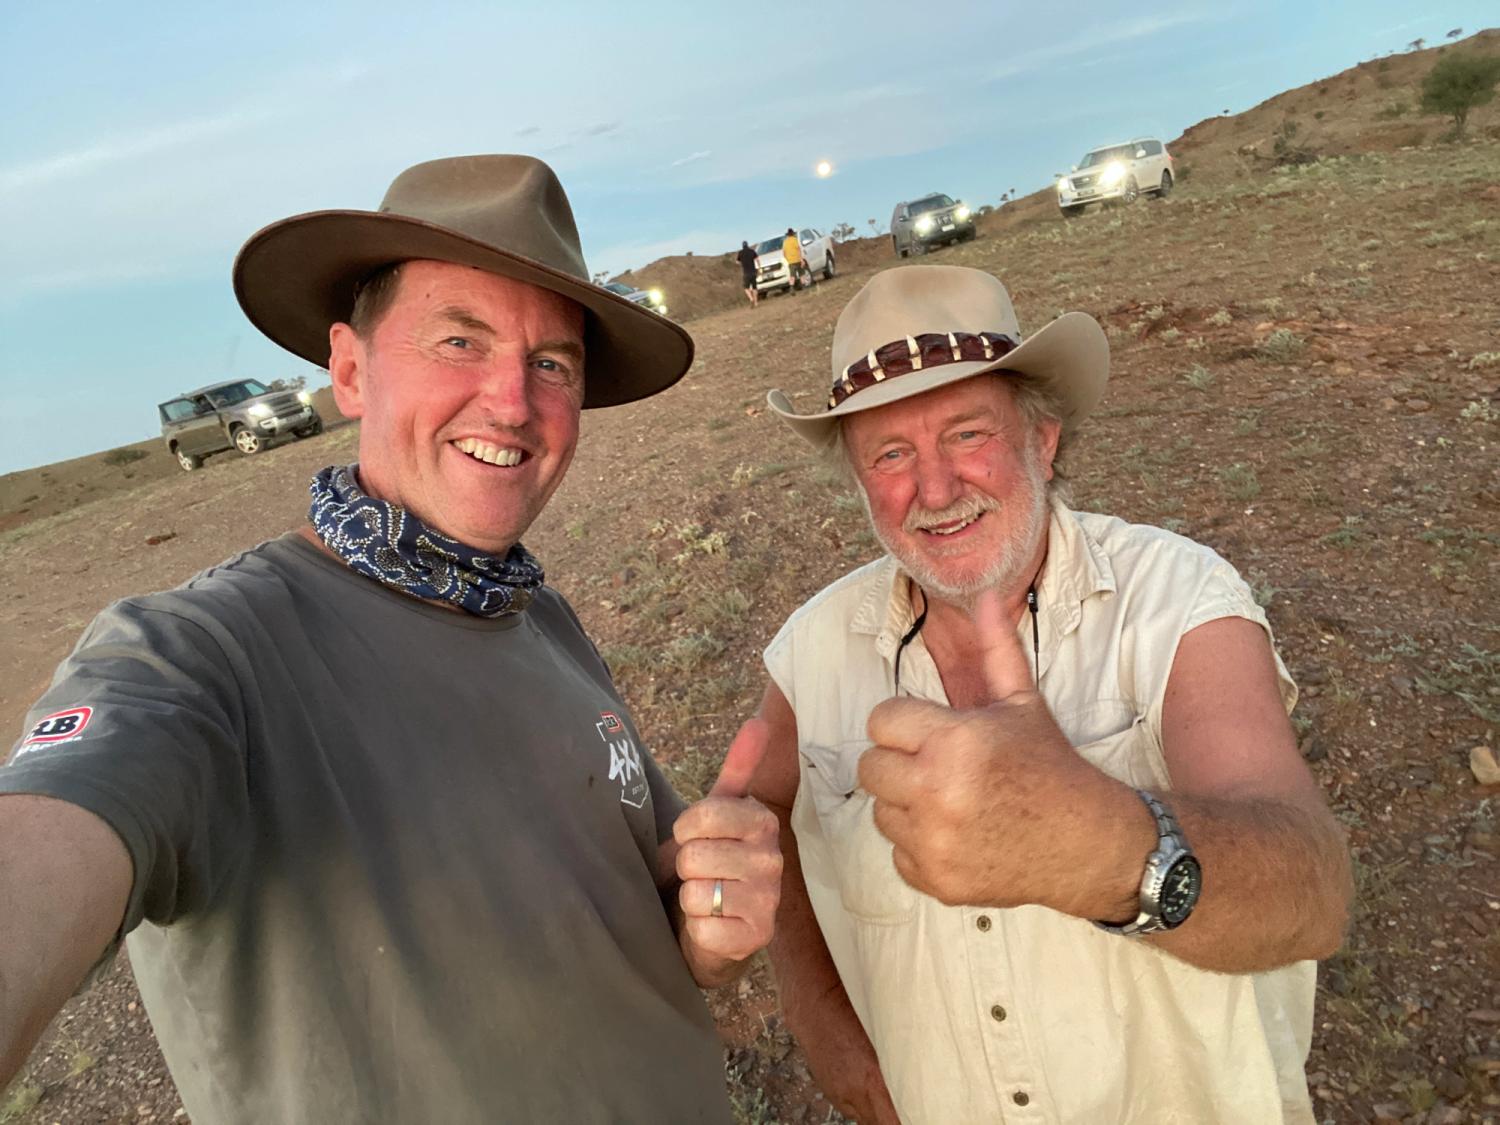
The idea of building the ultimate camera vehicle has been in the working for quite some time, but the moment we decided to push the green button on this new build came about whilst on a photoshoot in Tasmania. Turning the design idea of a new 4X4 from concept into reality is a huge job which requires much planning. We talked about this planning in the article, “Designing your 4X4” but I figured it might be a great idea to take you through our own build of “The Mighty 79”.
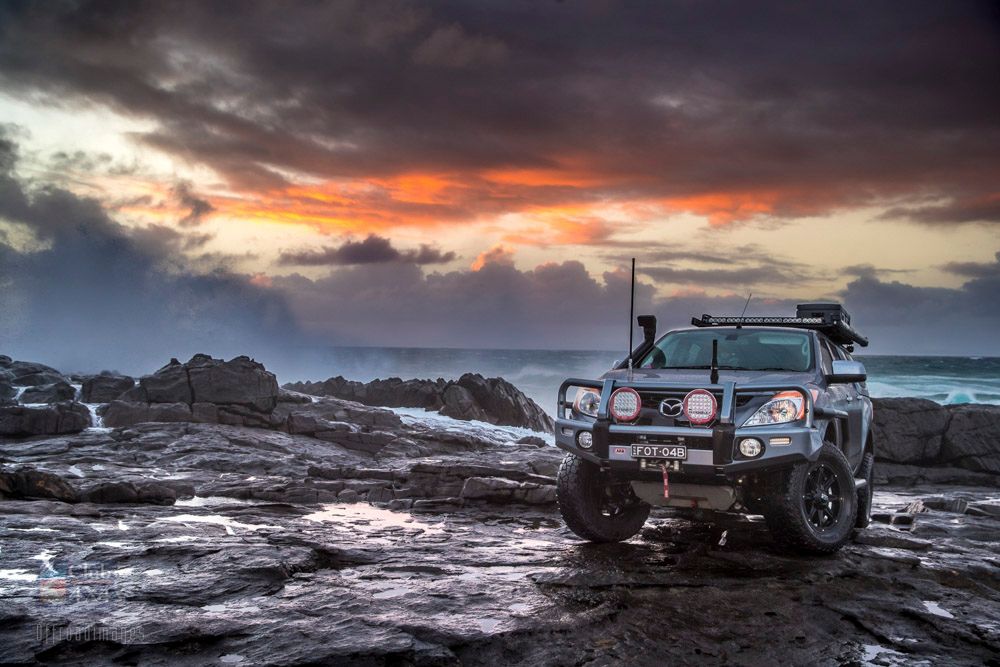
In a bid to always to do better with our photography business (photographing for the 4X4 industry), I had been planning this for a long time. I had spoken to many 4X4 businesses about our needs, chasing the ultimate solution to cater for our requirements and allow us to service the clients better with our photography and filming. But on that wild day in Tasmania, Gab and I agreed that it was time.
So – what exactly would we looking for in a customised 4X4 you might ask…
It’s a huge list really, with our camera work being the priority, but the vehicle needed to be:
- Extremely capable in all off-road situations to allow us access to the sites required for our photography.
- Able to carry the film and stills cameras, lighting, drones, computing gear into remote regions for extended periods of time and keep everything charged.
- Designed for quick access to all camera gear to provide us with fast effective results.
- Separate all camera work and charging on one side and catering for the crew on the other to provide better servicing to the photoshoot whilst still providing us the crew support.
- Must be 100% legal Australia wide.
- Must have huge power capabilities for charging the gear used on the photoshoots.
With a photoshoot expedition being planned across the Simpson Desert taking in the Madigan Line, I figured, we now have a deadline for building this new rig. Yep, take on the biggest build we have been part of and then drive it through one of the most remote regions in Australia… that makes sense. But with the quality of products available in Australia combined with the expert mechanical and electrical brands and businesses, I was confident and up for the challenge!
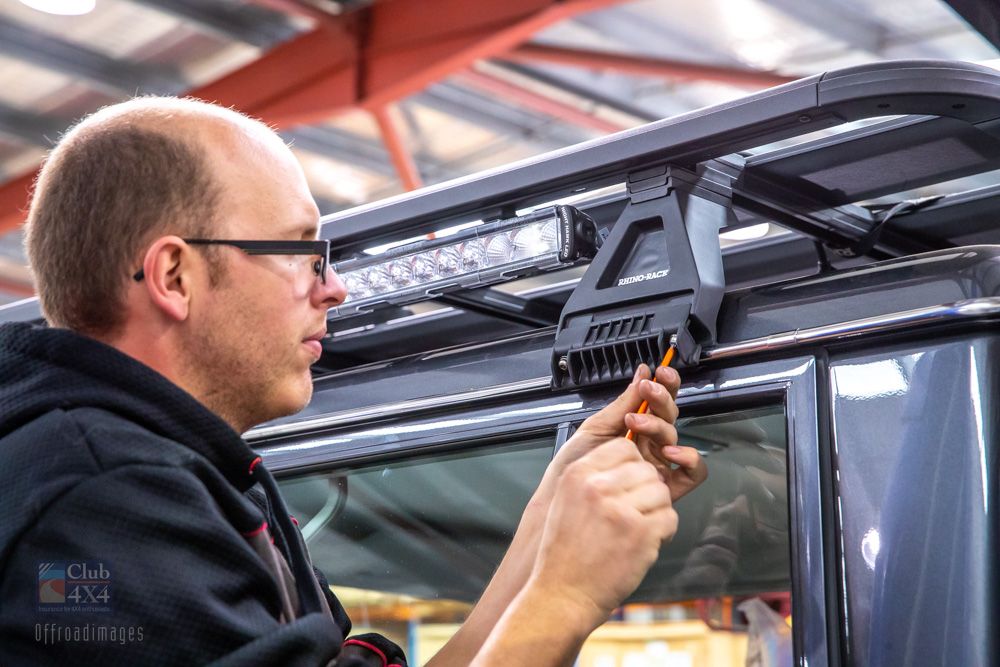
I called the various 4X4 businesses who would be involved and told them of my plan to build one capable 4X4 and started a detailed series of spreadsheets for the build project plan, equipment lists, electrical requirements etc. We went right into the detail all the way down to the weights of every element being added and where that weight will sit.
Whilst everyone was excited to be involved in the project, most people thought the biggest challenge would be getting my hands on a brand-new Toyota 79 Series Dual Cab Cruiser. However I managed to get one quickly and started the ball rolling, discussing build date commitments which would all need to line up with each other in Victoria, New South Wales and in Queensland.
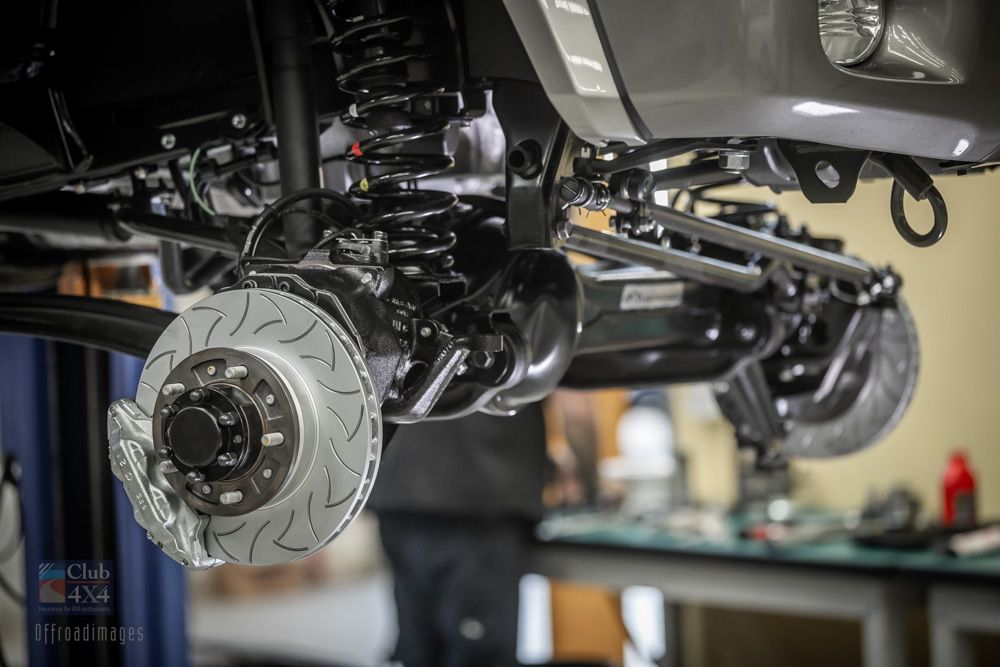
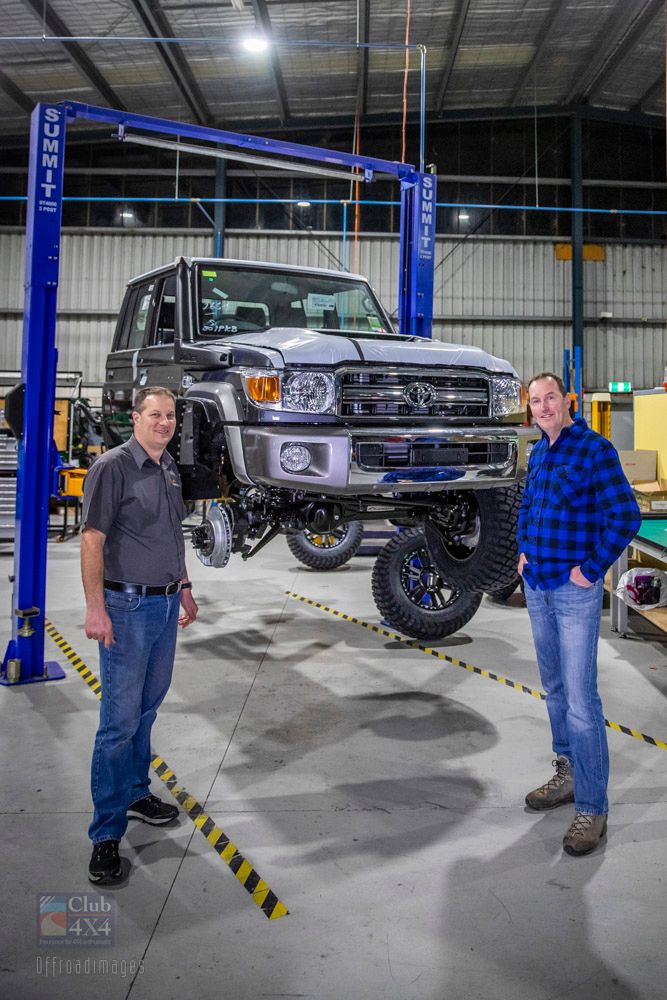
The first step was sending the vehicle to Marks 4WD to get the Portal Axle set-up. I had put a lot of energy into researching this product which provided so many benefits towards what I was trying to achieve. Although this upgrade comes at a cost, it will provide us a much better platform with the wider stance, better clearance, reduction gears, better braking systems and 35-inch tyres providing a nationally recognized legal solution for on and off-road usage. I had even greater peace of mind after chatting with the team at Club 4X4 Insurance and learning that I could list my Portal Axle set-up + the install labour costs as a listed modification on my comprehensive insurance.
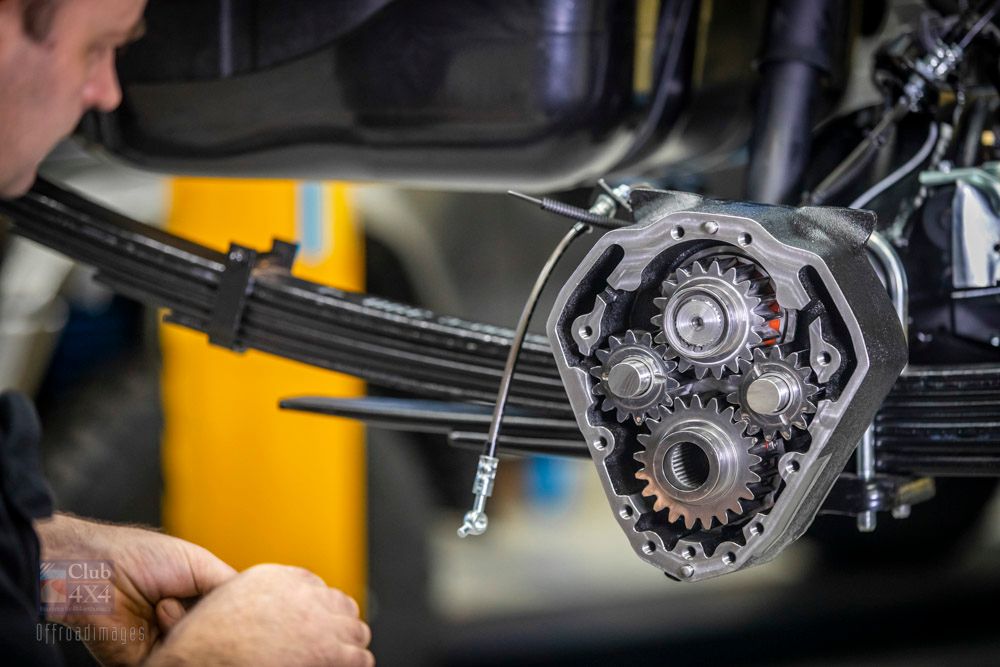
This will turn a standard Landcruiser 79 Series into a platform to mount all the other accessories making this one of the best camera vehicles around. I must admit, we lost a lot of time with transferring the brand-new vehicle from Sydney to Melbourne which somehow took 7 days on a truck.
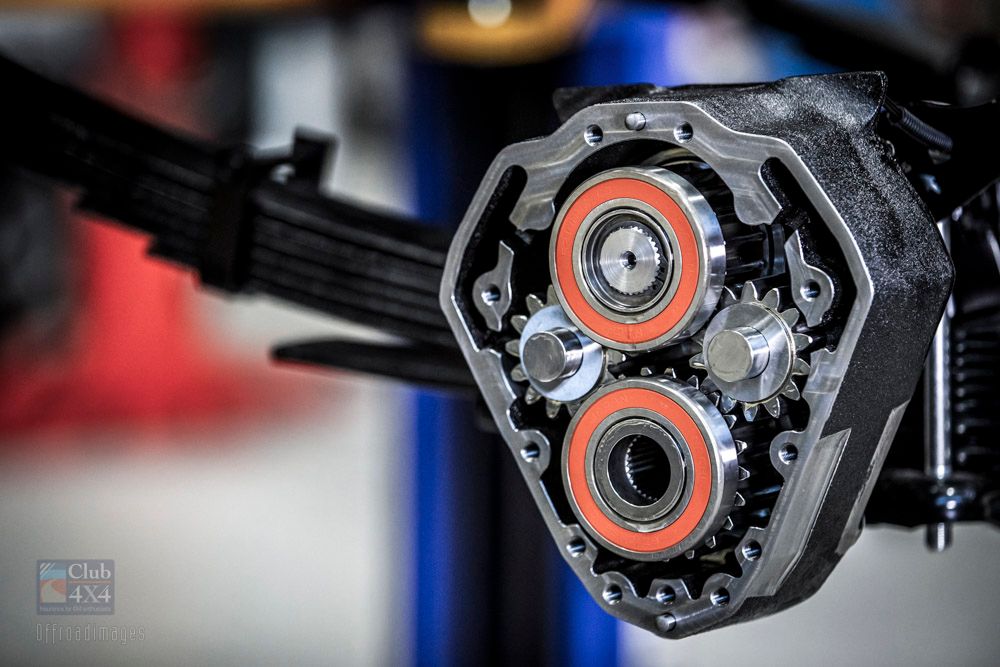
But the great team at Marks 4WD had everything planned extremely well and began the transformation. One thing I recognized quite quickly was the detail these guys go to in ensuring that every bolt is torqued accurately and then marked with a paint pen in the almost clinically clean workshop.
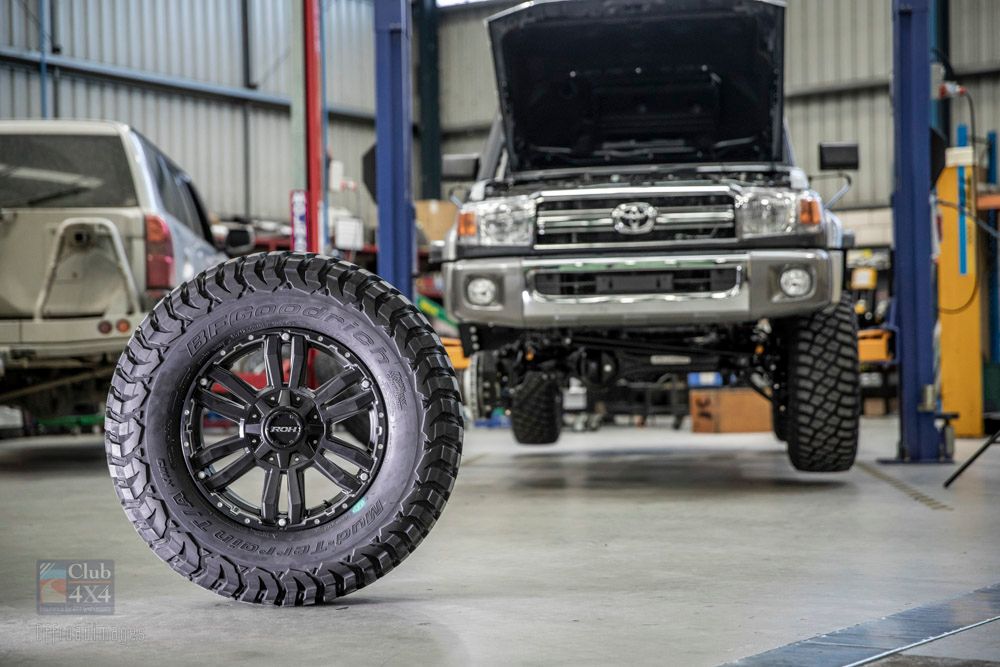
We had the beautiful ROH Vapours and the 35-inch BFG KM3s sent directly to Marks 4WD to be included in the start of the build. The ROH Vapours have a higher GVM load rating and look amazing; and the BFG KM3s are tough, have great grip in all situations and a really good reputation to match the rest of the gear planned for this build. Seeing the vehicle at this point was simply amazing, and as Leigh Hardman from Marks 4WD and I had a good chat, I discovered a lot about the history of both Marks 4WD and their sister company Hardman Brothers, specializing in gear cutting.
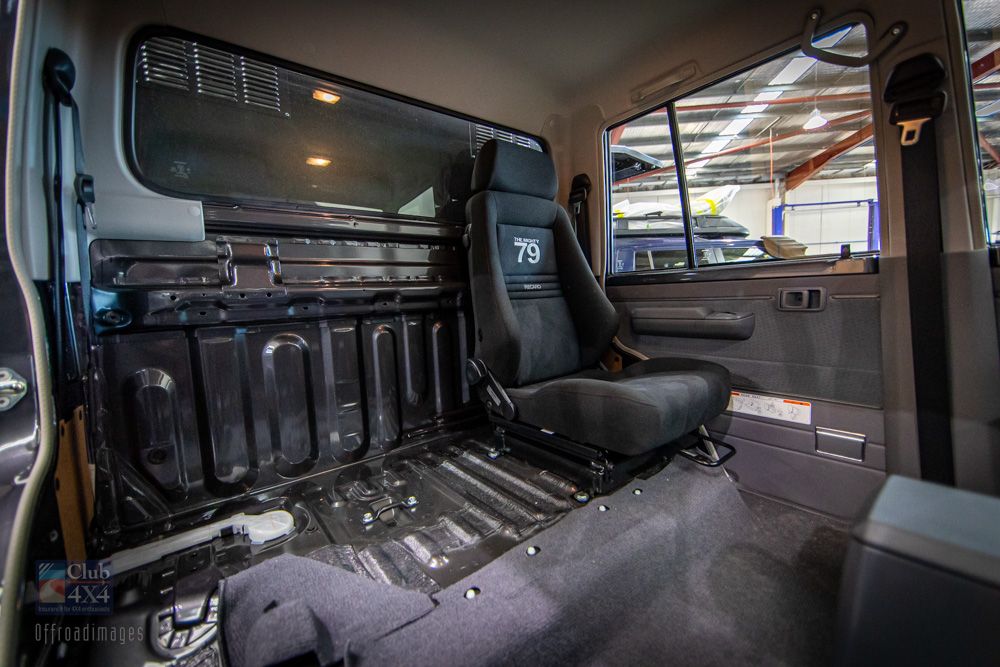
At the same time as this was going on, Recaro had an engineer in Melbourne working with an engineer in Sydney to create a 3-seat conversion we were planning. We would be removing the rear bench seat and replacing it with a single Recaro seat for a crew member. This will change the 5-seat capacity to 3 people only, but really suited the build.

This would provide us with the space and a location for filming and stills camera gear to be safely located behind the driver’s seat in a box set-up, bringing much weight forward to assist in balancing out the vehicle. This conversion was quite simple with more bolts holding in the frame of the single Recaro than was originally holding in the full bench seat – this was definitely over engineered, but certainly suited me.
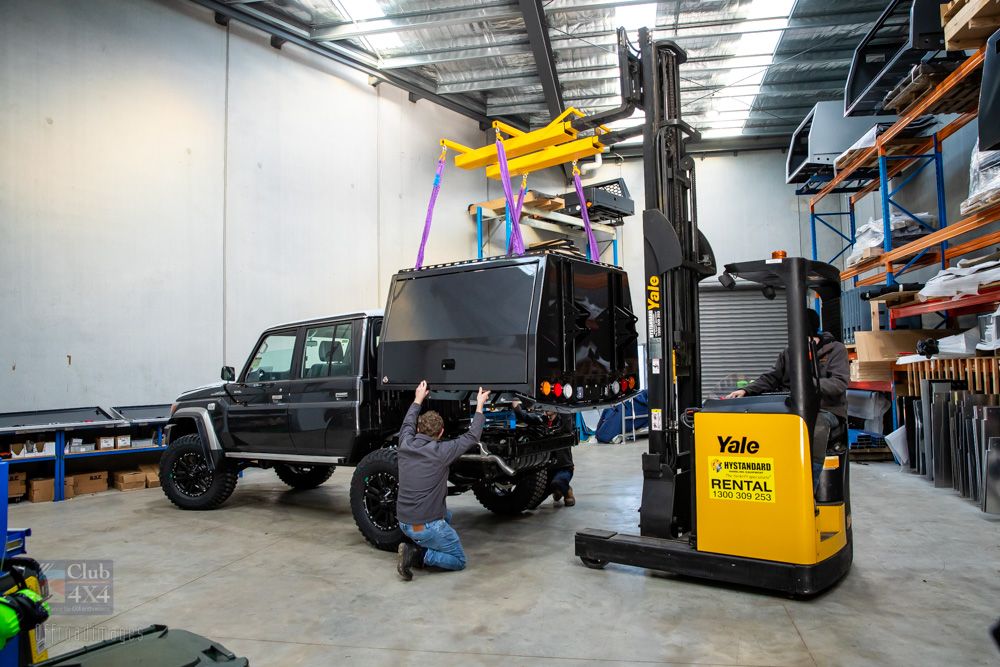
The next stage was at Trigpoint with the installation of a lightweight yet extremely strong service body providing us with the ultimate storage solution for important gear. Murray from Trigpoint is extremely proud of his design which utilises both alloy and steel materials combined for strength and durability, but importantly reduced weights. We looked at many different solutions, with Trigpoint coming out on top for both design and weight reduction. One of the benefits which helped my decision was the floor being flat when you open the door. This works much better with drawers and the like requiring no brackets underside which would create more un-necessary weight. The great design has been well thought out and these guys are extremely proud of what they have created… I love that.
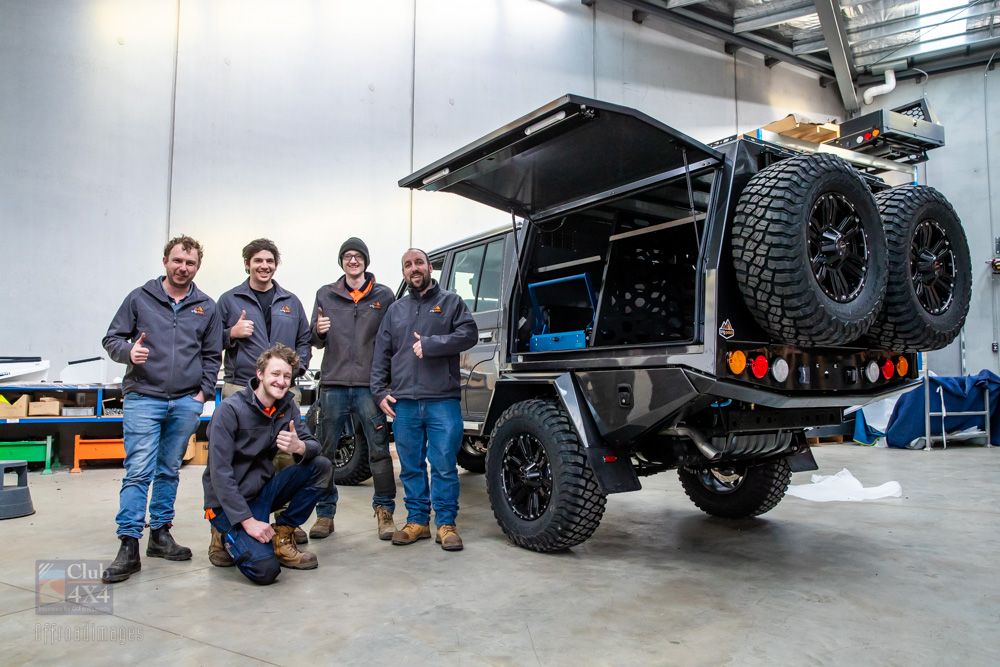
With these items all successfully installed and double checked, we drove the cruiser on a permit to Sydney for its suspension installation and registration. The ARB BP51 suspension I had installed is, in my opinion, the best gear available for the aftermarket 4WD industry as a product that provides the best solution for customisation out of any shock system available today.
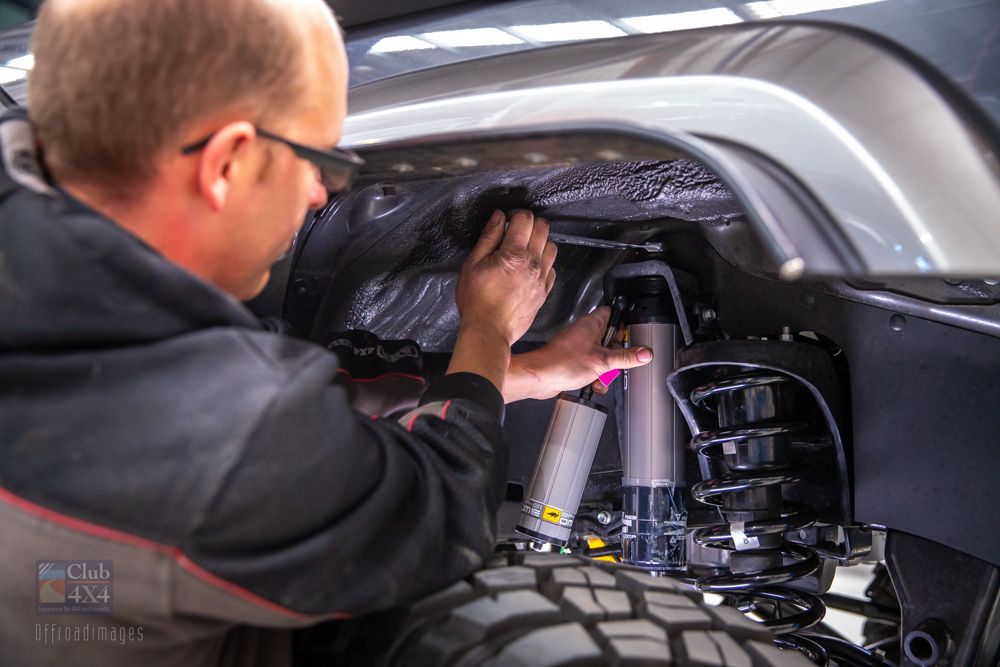
With these bigger rigs, it’s extremely important to be able to independently control both compression and rebound in a shock absorber for both control and comfort. Much discussion went into the suspension set-up, with the final solution being considered based on the weights spreadsheet which we had created, and a leaf pack was selected.
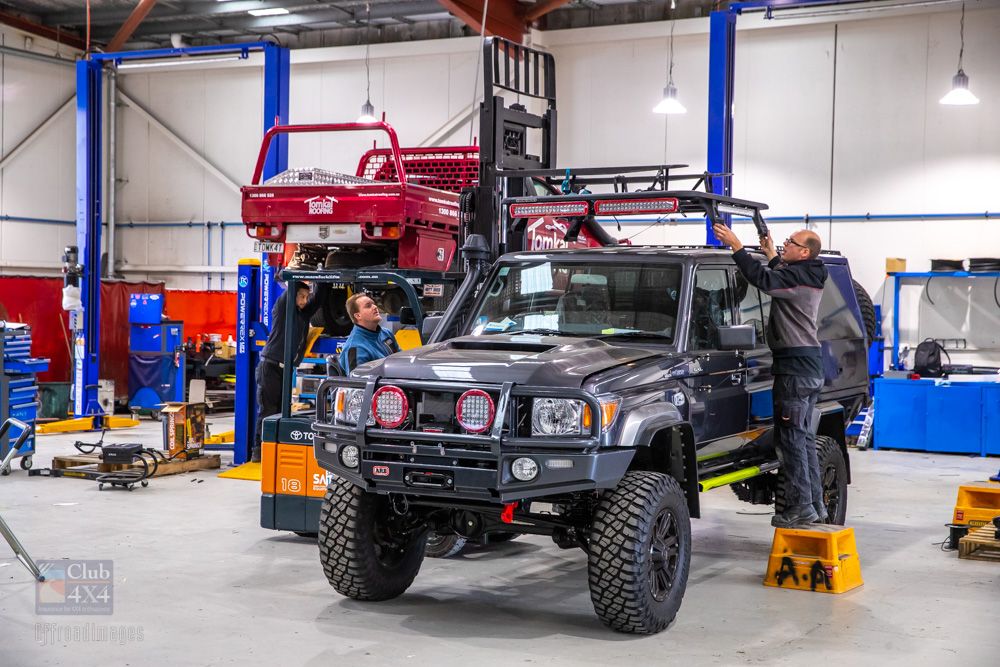
The next 2 weeks were spent with all sorts of gear including the installation of protective equipment and much of the electrical gear. This gear would assist us in getting the job done safely and effectively all-round Australia.
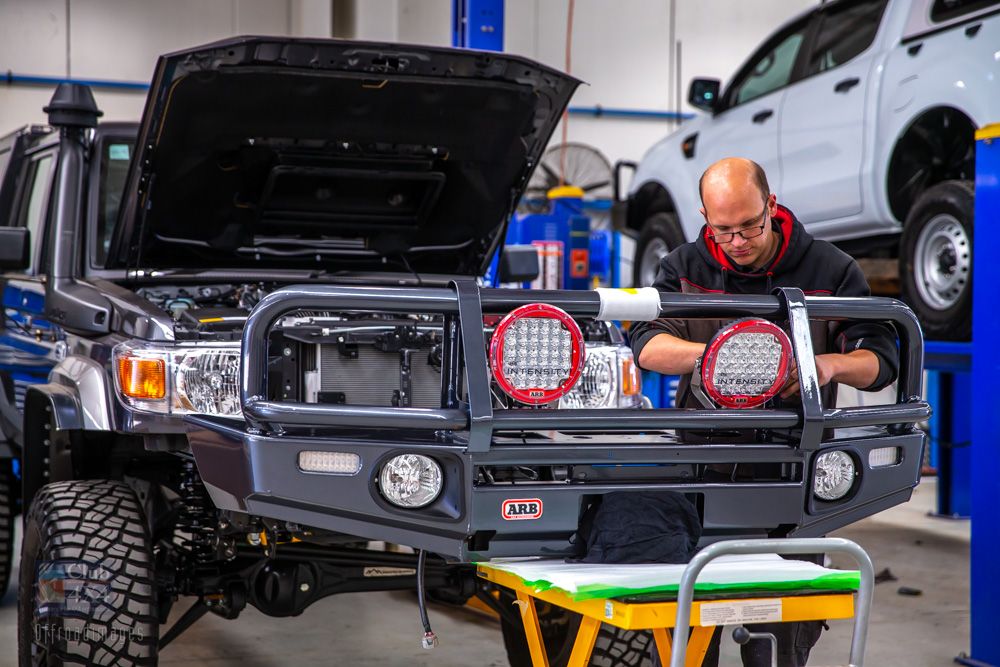
The protective gear started with the ARB big tube bull bar and side rails, with lighting systems being a combination of both ARB Intensities and Bushranger lightbars. The forward-facing lights with AR32s mounted on the bull bar being in a spot and spread beam, and the roof lights being both spot, are the best lights I have ever used completely covering the road ahead. Again, we utilised our own knowledge and thoughts combined with great consideration from product designers to come up with an excellent lighting solution.

Whilst there were the obvious choices like the increased capacity of the 180 litre ARB Frontier Tank to be installed, most of the 2 weeks at ARB in Moorebank was spent on the electrical set-up, with 2 people mounting and wiring accessories in place alongside one of Redarc’s chief engineers, creating all the big power solutions to meet our requirements. We placed Redarc solar over the service body to reduce the temptation of loading weight high over the rear. We had 240 Amps of fast lithium batteries from Revolution Australia and all the best battery management gear from Redarc.
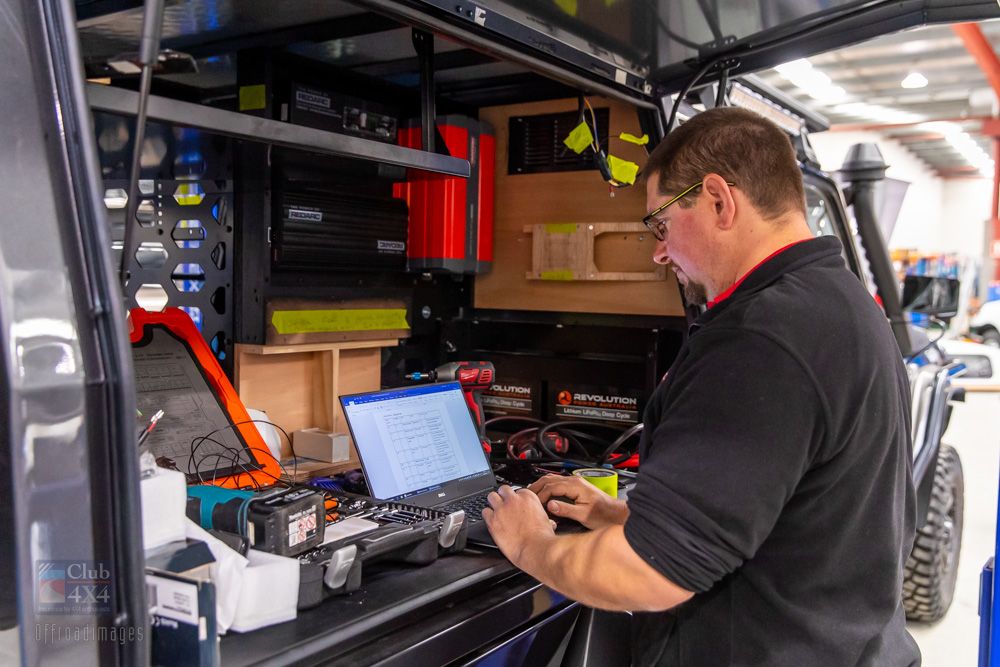
The majority of gear installed at ARB in Moorebank was all delivered and ready for installation well in advance of their build slot, but it was extremely important for staff at ARB to be on top of everything, every part needed to be checked off to ensure we would keep this build on schedule, and they did an amazing job, with parts coming from many different suppliers in various locations all being ticked off ready for the build. This would be one of the biggest builds they have been part of, with so many bits and pieces needing to line up with each other.
We finished most of this installation with a future date planned for the finishing touches but needed to head to Queensland for ceramic paint protection with Changi from A1 Custom Detailing to keep the paintwork protected.
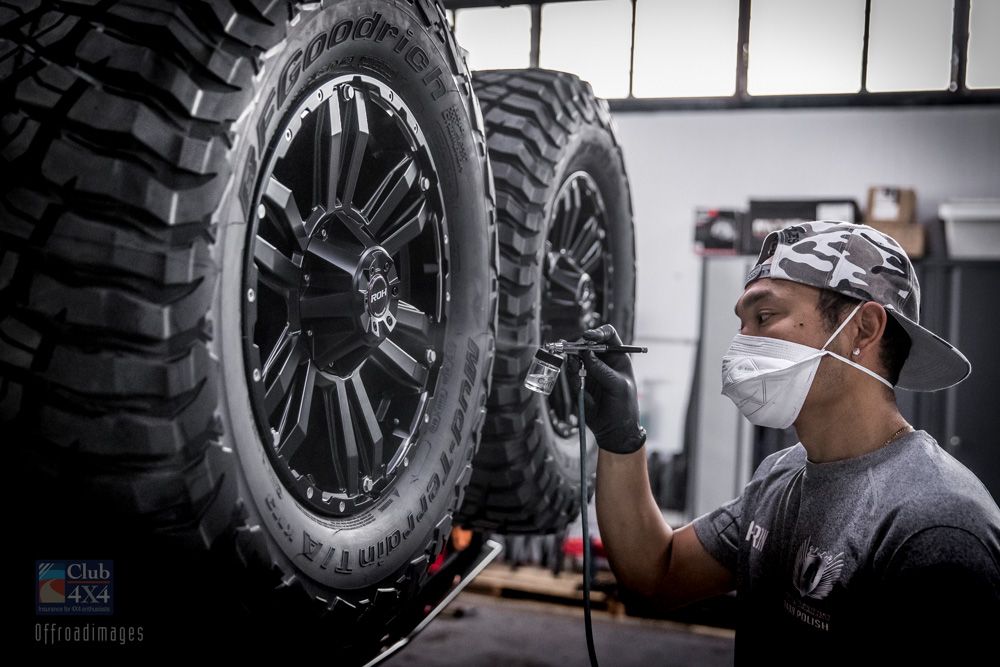
Changi worked all night to get the finishes onto the 79 paintwork.
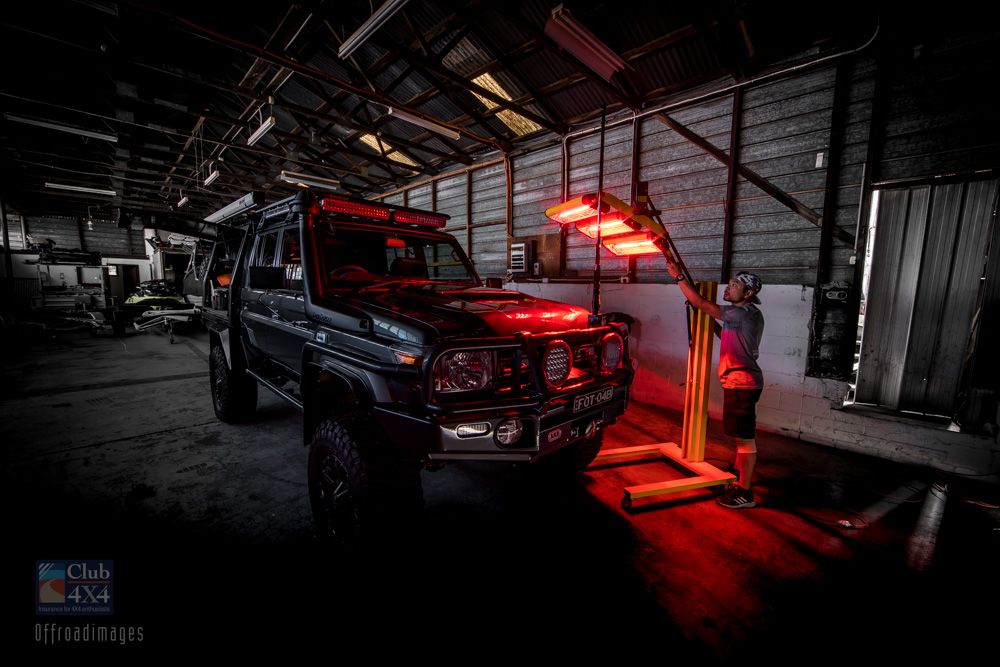
Whilst it was at Changi’s site and in between coatings, we had the windows tinted, installed interior door trims and speakers by Department of the Interior, and raptor coated the side rails step, before heading to MSA 4X4 accessories to have a set of custom drawers installed to assist us with organising everything within the service body.
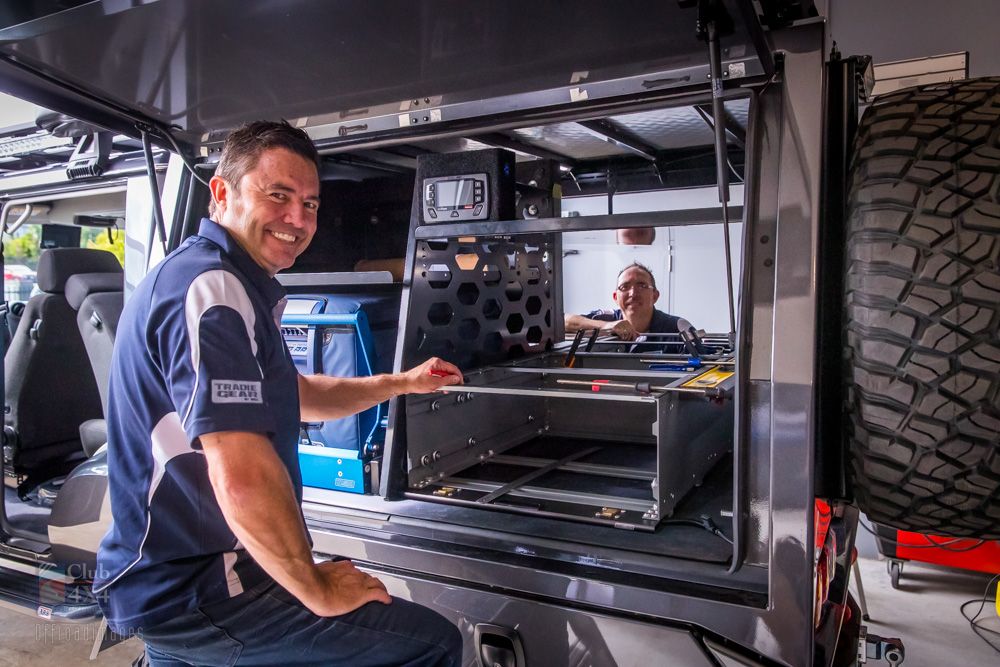
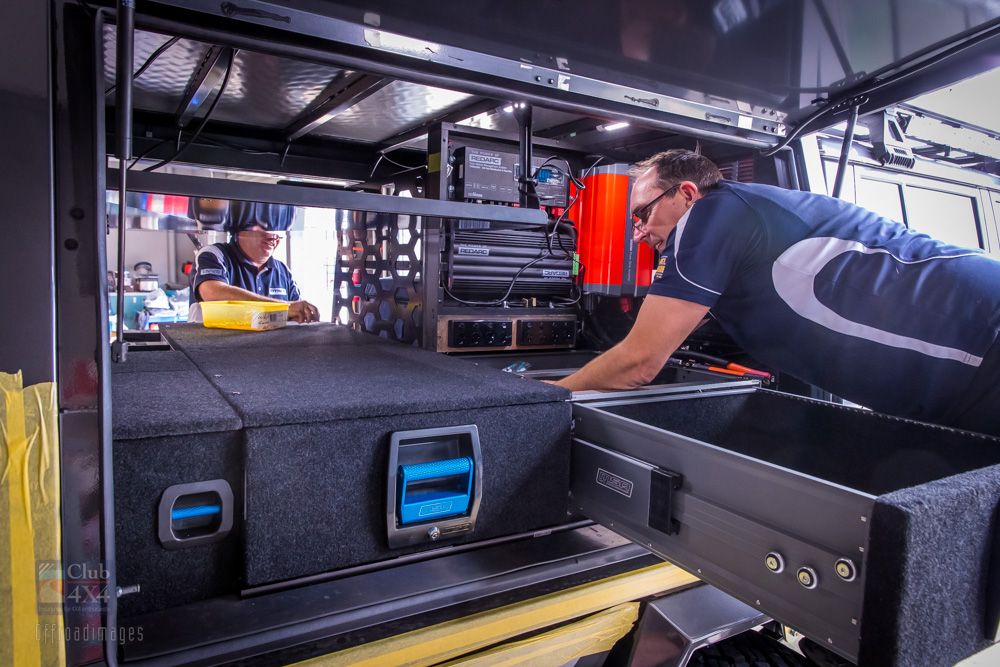
Shane Miles created a set of drawers which really set the service body off. The custom drawers were a simple fit for the team at MSA as the floor of the Trigpoint canopy is perfectly flat with no ridges. This looked amazing. While it was at Shane’s factory, we had the stereo and speakers installed. It made sense to achieve installation of gear by a mobile stereo company in the front while all this work was being carried out in the service body. My tip is to make the most of all the time available when on a tight schedule. There are so many parts that need to find their place.
We then headed to GSL in Toowoomba for a custom-built twin 4-inch stainless exhaust. The team at GSL are masters in the game of creating beautiful exhausts that work amazing.
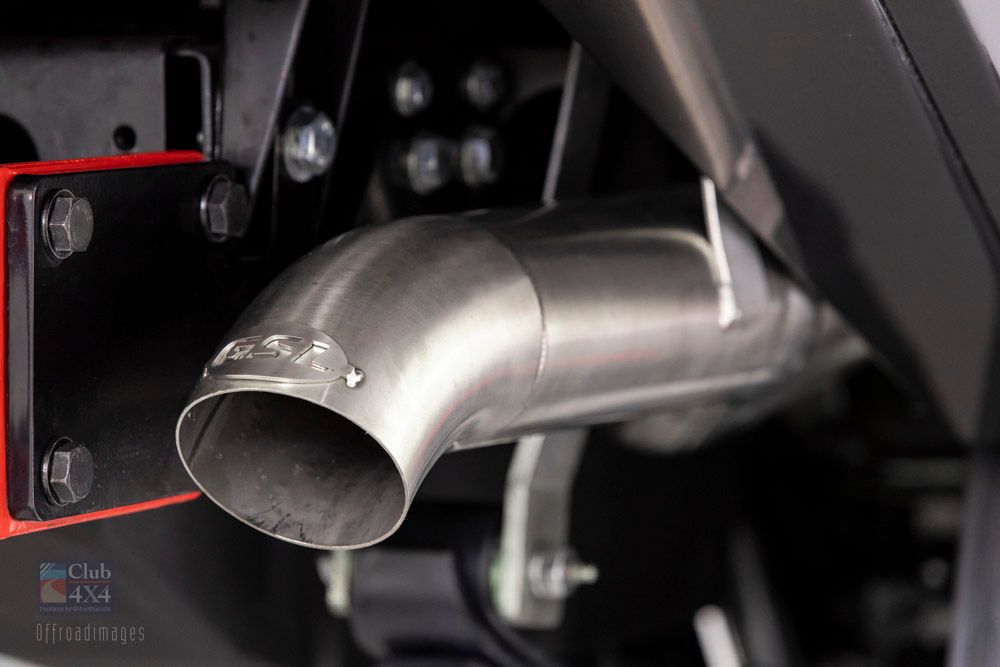
Something that we were keen to achieve was to create an environment where especially when the DPF would perform its burn, the heat would get out the back quicker reducing temps at the back of the vehicle. They weaved the system down both sides with some tight turns around the airbags, suspension system and toolboxes.
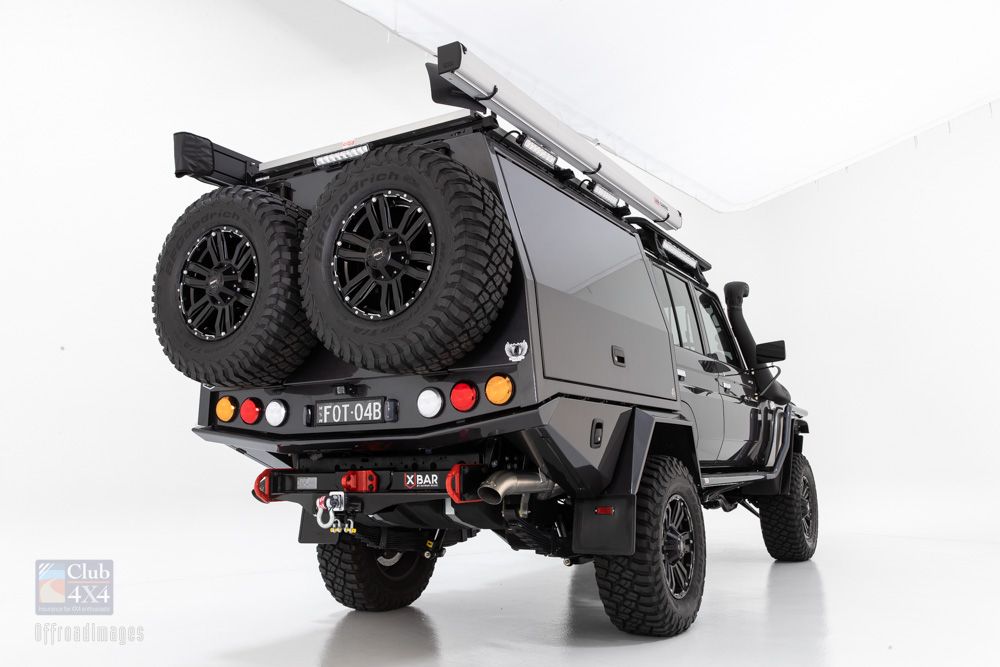
Whenever you are building a new vehicle with customisation involved, there are always going to be some struggles with fit or maybe finish, so it’s important to leave time between locations, just in case things do go wrong. Time can easily blow out when so many things need to align. The one thing you can’t afford to do is to move bookings in multiple locations around as this will create a pain for many businesses. We created a couple of buffers at different locations believing that we might need some extra time, and this made a huge difference. With GSL, it was an extremely complex build and installation which meant the guys needed to assign an extra person to the job. Unfortunately, I had not made any allowances for extra time here, but the team managed to help keep us on track.
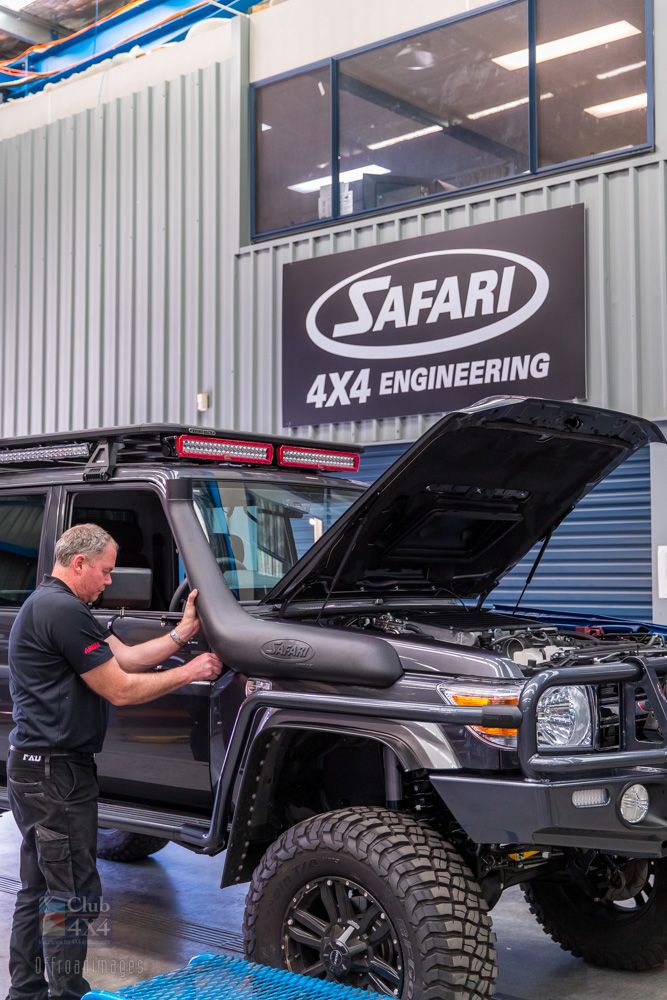
We then needed to take a big drive through to Melbourne to add some of the performance gear. Safari snorkel, heavy duty clutch and the Safari ECU before heading back to Sydney to perform installation of some of the important finishing touches.
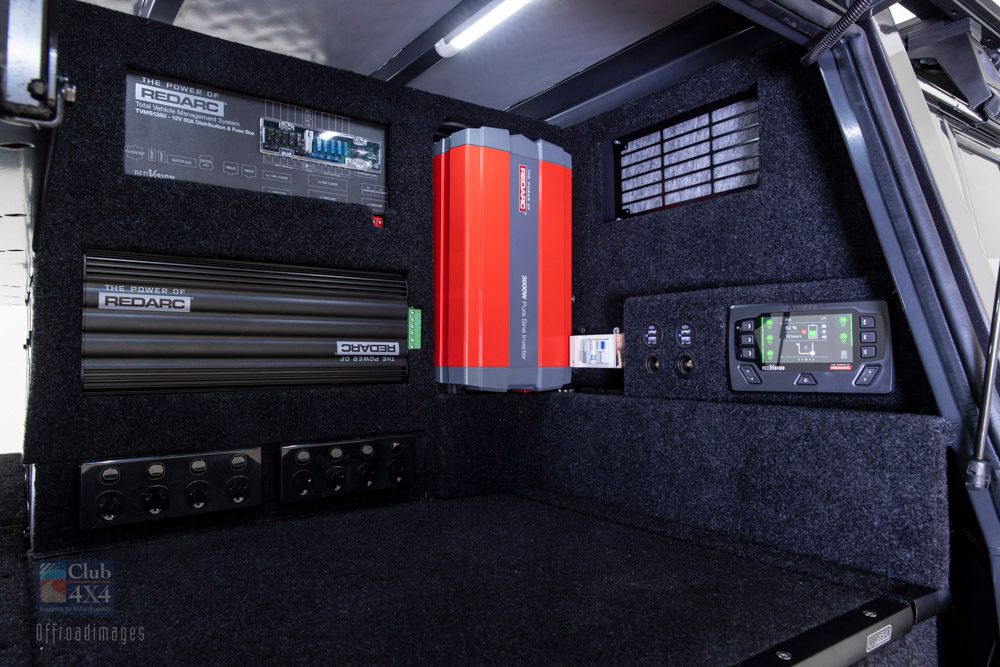
This vehicle was really taking shape now, it was looking like an absolute beast. All these finishing touches where all lining up so well.
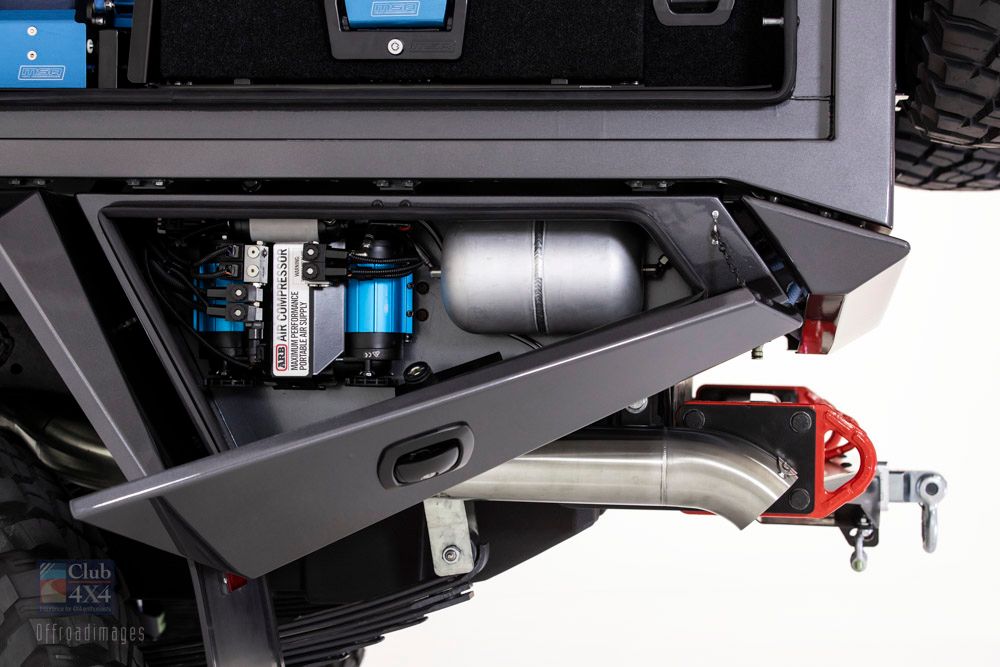
Australia’s 4X4 accessory companies have created so many great parts to help people like you and I create our dreams in building beautiful vehicles like this one. Admittedly, we photograph 4WDs for a living and we know what looks great. This vehicle needed to perform travelling all over this great country of ours but was also going to be one of the most photographed 4X4 vehicles and it needed to look the part. We just can’t resist taking photos of 4X4’s.
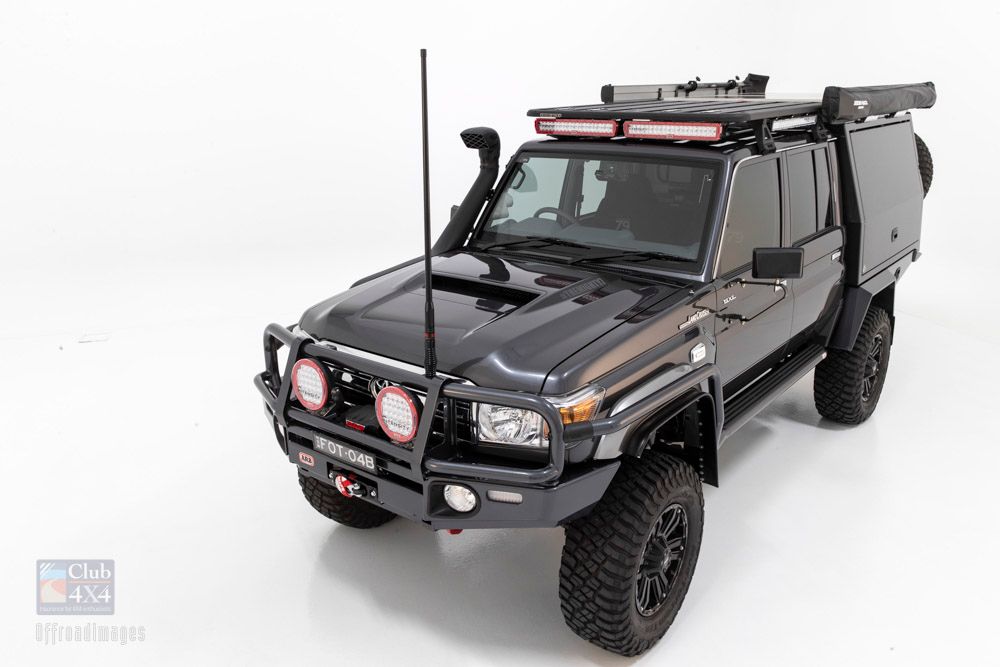
All coming together in a last day’s effort, the vehicle would be 99% finished and was booked to be photographed by us in a studio before any scratches or stone chips developed.
Standing around late that afternoon at ARB in Moorebank, there were many ARB staff just looking at it with huge smiles… This is “The Mighty 79” I explained… “Congratulations guys, how good is it!”
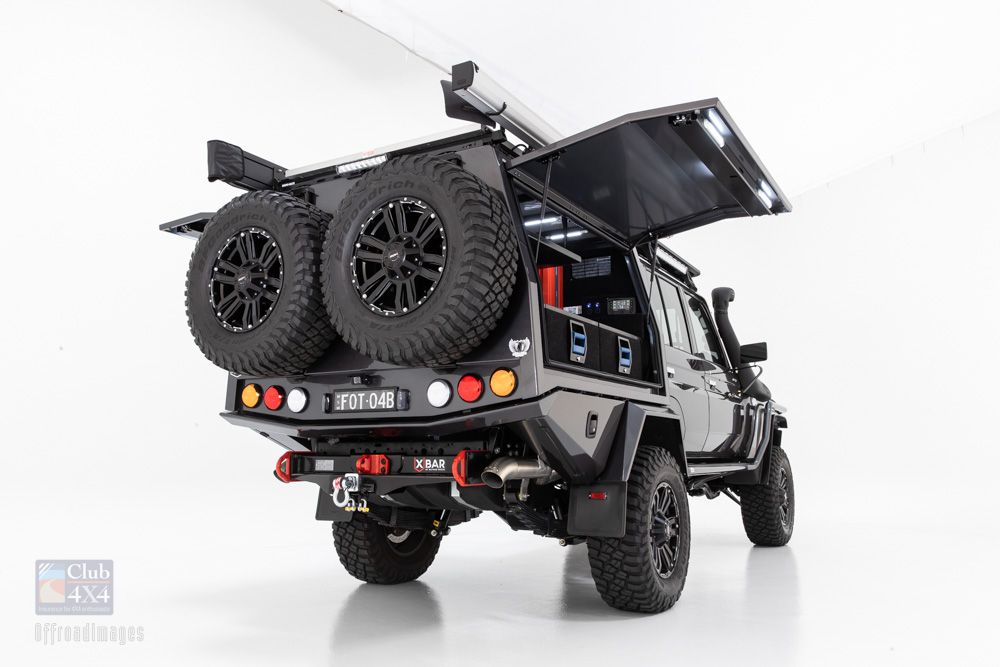
The next day, we were off to the studio for an all-day photoshoot capturing the Mighty 79 before it did any serious kms.
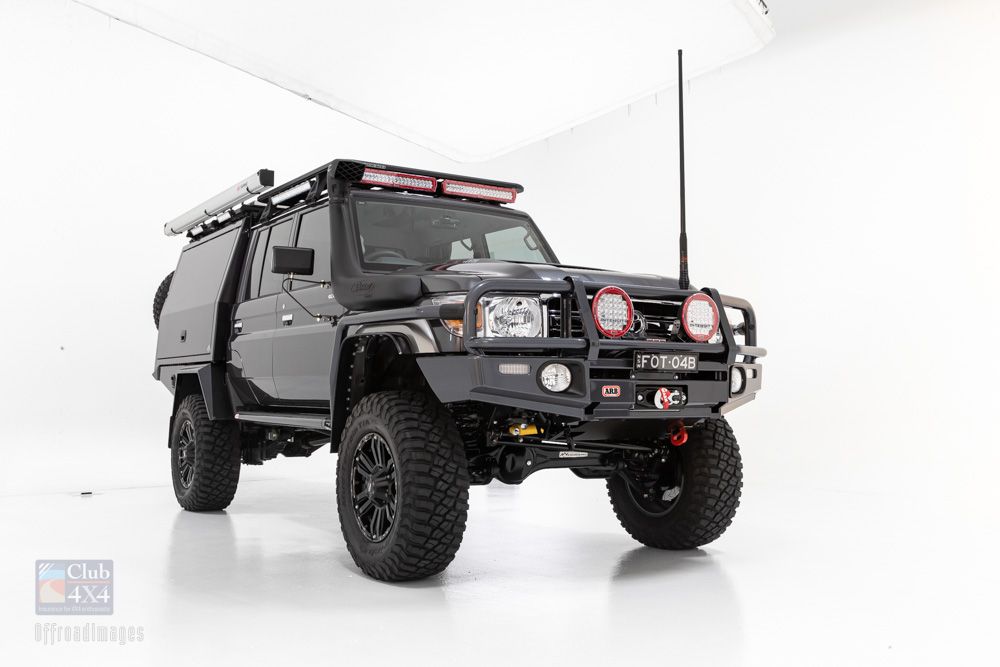
The following day… we were to drive to Broken Hill on our way to the Madigan Line. Can’t wait to tell you all about the Mighty 79’s maiden voyage.
“Cheers”
-Michael EllemOffroad Images
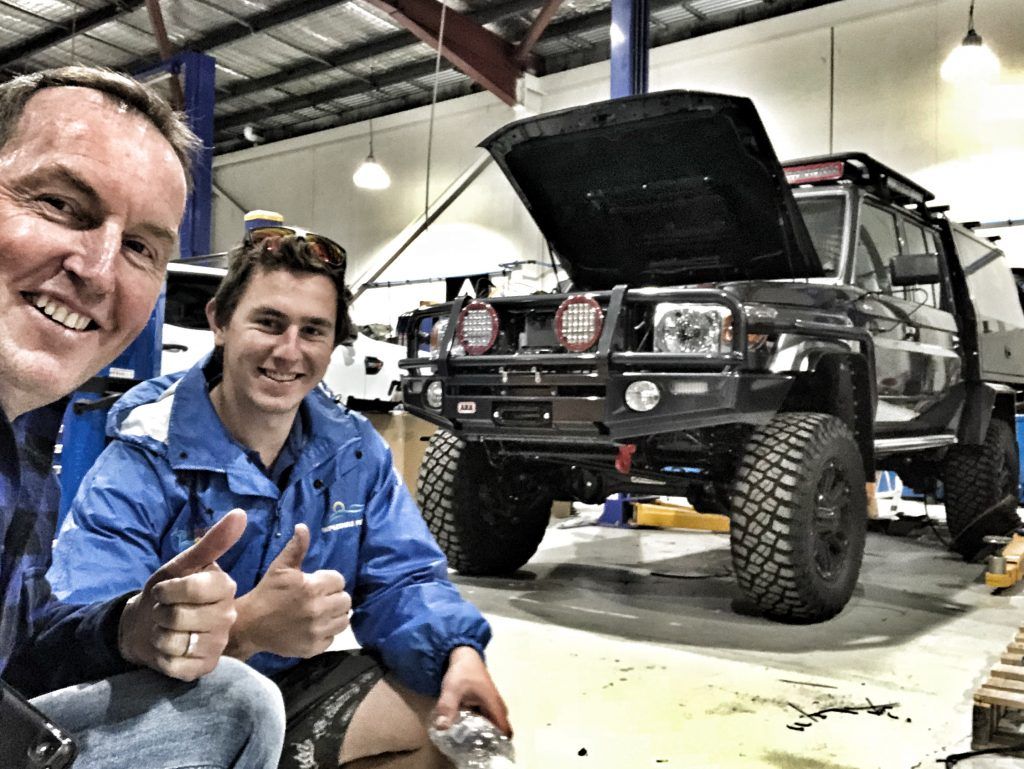
The Campfire – Feedback
Just like sitting around the campfire, we would love to hear what you have to say.
You can be involved simply by entering your comments below.
Also… we will be featuring stories about photography tips and tricks, 4X4 preparation, build planning and maintenance, as well as featuring inspirational locations for you to visit in your 4X4. So please get involved and let us know what you’d like to hear about.
If you have any requests for stories to be featured in campfire or would like to provide feedback about this article, please send us a message on our social links…
Instagram: @offroadimages
Facebook: @offroadimages
YouTube: https://www.youtube.com/OffroadImages
Website: http://www.offroadimages.com.au
As 4X4 enthusiasts who live for the opportunity to create awesome imagery anywhere in Australia, we know that our vehicle assets are covered wherever we travel to create that shot, as we are insured by Club 4X4.

